
Dear friends,
I hope everyone is staying healthy and abiding by the social distancing that will help keep the COVID-19 virus from spreading. I have been staying home as much as I can and will start my online teaching on Monday. I have been very concerned about my friends & relatives that don’t have the option to work from home. I know those of you that are heath care workers, grocery clerks, truck drivers, postal workers, gas attendances and delivery workers are on the front lines and I personally want to thank you for your service and the sacrifice that you are making. I have made this tutorial because I have heard that there is a shortage of masks out there. If you don’t have the means to make one and are in need of one, please contact me and I will make you one - NO Charge. This is my little tiny way of wanting to do my part! Please take care and be safe. WE WILL get through this and will be a stronger and hopefully a more united country.
Please subscribe for free to this blog to see more free informational blogs.

I’ve been told that many heathcare workers prefer wearing facial masks that are tied on instead so that they can control the tightness so I am adding directions for masks that have ties instead of the elastic.

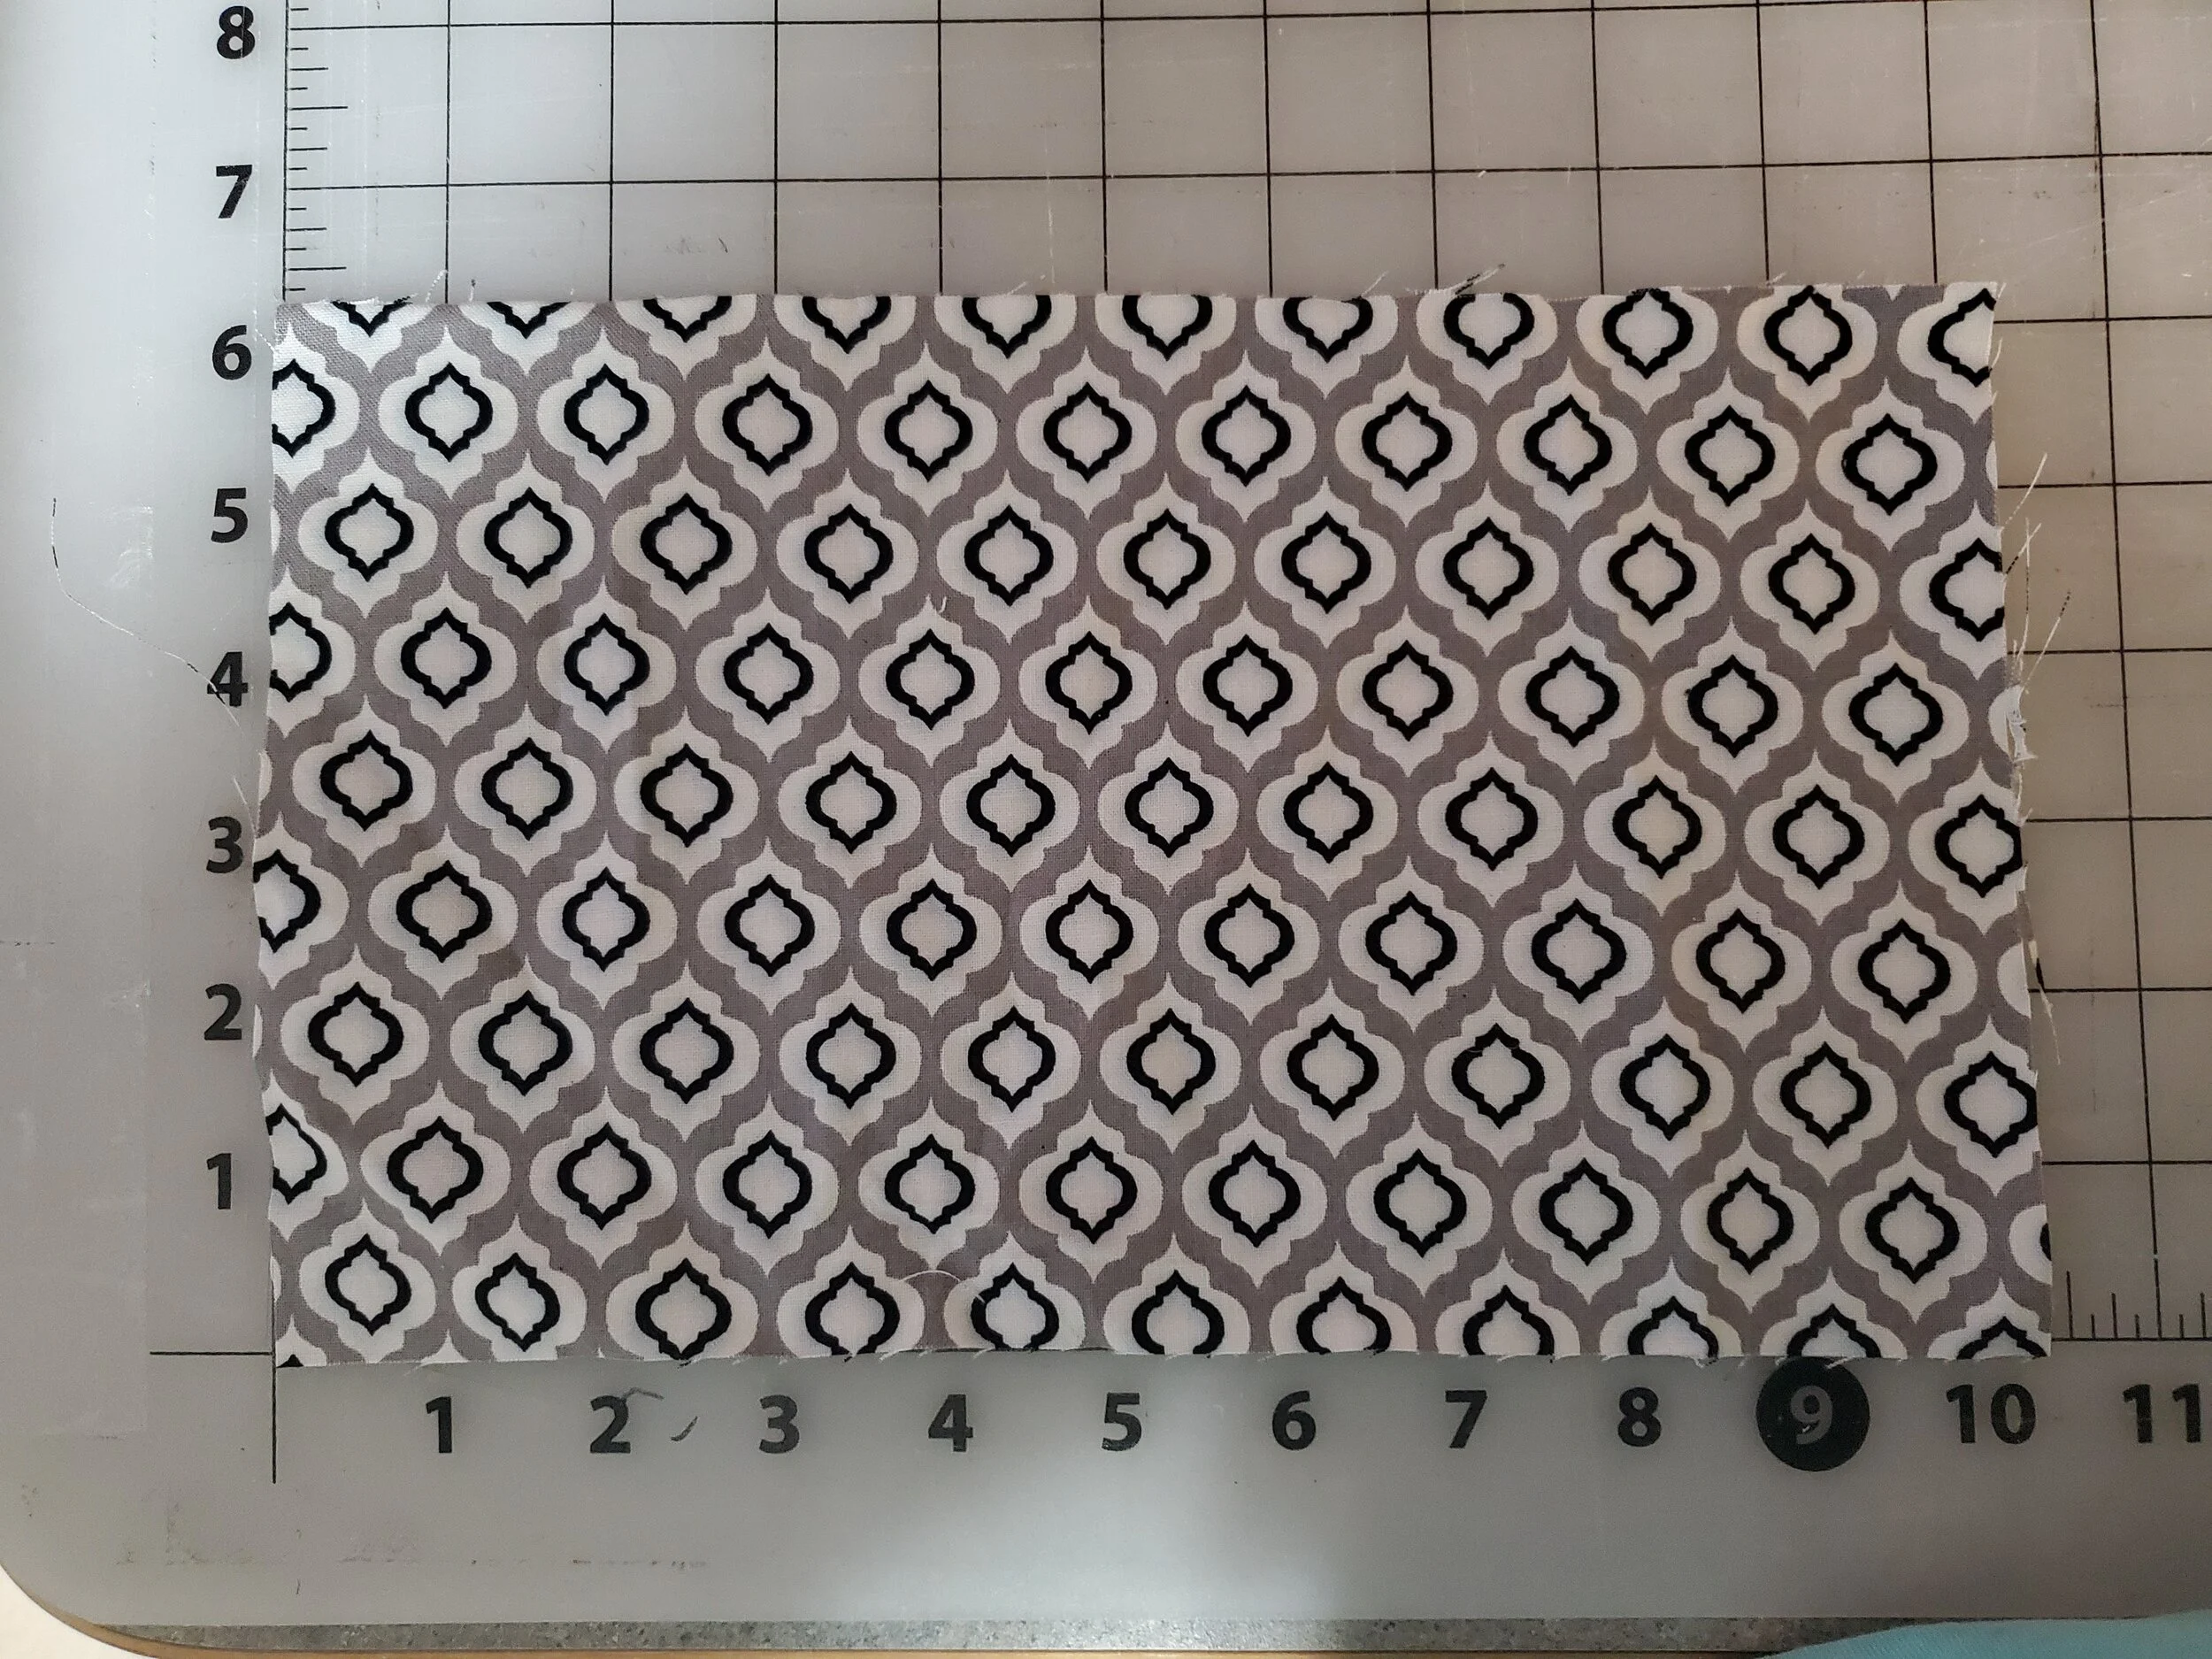
Cut two pieces of 100% cotton 6” x 10” in length. This is one inch longer that the elastic masks.
Put the two pieces of fabric right sides together and sew 1/4 inch from edge along both long sides. Turn the fabric right side out and press. (Both end are still unsewn.)

Next, make and pin 3 pleats on both ends. Pin the pleats approximately 1 inch from the edge.

Sew over the pleats one inch from the edge of both ends.

Next sew a finishing seam 1/4 inch from the edge of the top and bottom of the mask, which is the long sides of the fabric. ( This isn’t an absolutely mandatory step, but if you plan on wearing it more then once and washing it, this will help it keep it’s shape.)

Next, cut your tie cord approximately 65 inches in length. The tie can be made out of pretty much anything that you have on hand: yarn, string, or cord. Next, line the cord along both sides along the stitch that you made when securing the pleats.

Fold over the sides and pin in place, making sure the tie cord is out of the way of the sewing path. You can also wait to add the cord until after the stitch is made and then feed the cord through the open tunnel that you create, but I prefer to just sew slow and avoid that step.


I went over both sides twice to make sure that the sides are strong since you will be pulling the string to tighten the mask around your face. Next you can snip any extra raw fabric that may be rough along the edge since it will be on your face. Your mask is ready to go!
