
Follow this simple tutorial for sewing a little zipper pouch for kids. A perfect starter project for beginners.
Tutorial for making a health mask.
DIY, Sewing & EmbroideryDear friends,
I hope everyone is staying healthy and abiding by the social distancing that will help keep the COVID-19 virus from spreading. I have been staying home as much as I can and will start my online teaching on Monday. I have been very concerned about my friends & relatives that don’t have the option to work from home. I know those of you that are heath care workers, grocery clerks, truck drivers, postal workers, gas attendances and delivery workers are on the front lines and I personally want to thank you for your service and the sacrifice that you are making. I have made this tutorial because I have heard that there is a shortage of masks out there. If you don’t have the means to make one and are in need of one, please contact me and I will make you one - NO Charge. This is my little tiny way of wanting to do my part! Please take care and be safe. WE WILL get through this and will be a stronger and hopefully a more united country.
Please subscribe for free to this blog to see more free informational blogs.

I’ve been told that many heathcare workers prefer wearing facial masks that are tied on instead so that they can control the tightness so I am adding directions for masks that have ties instead of the elastic.

Cut two pieces of 100% cotton 6” x 10” in length. This is one inch longer that the elastic masks.
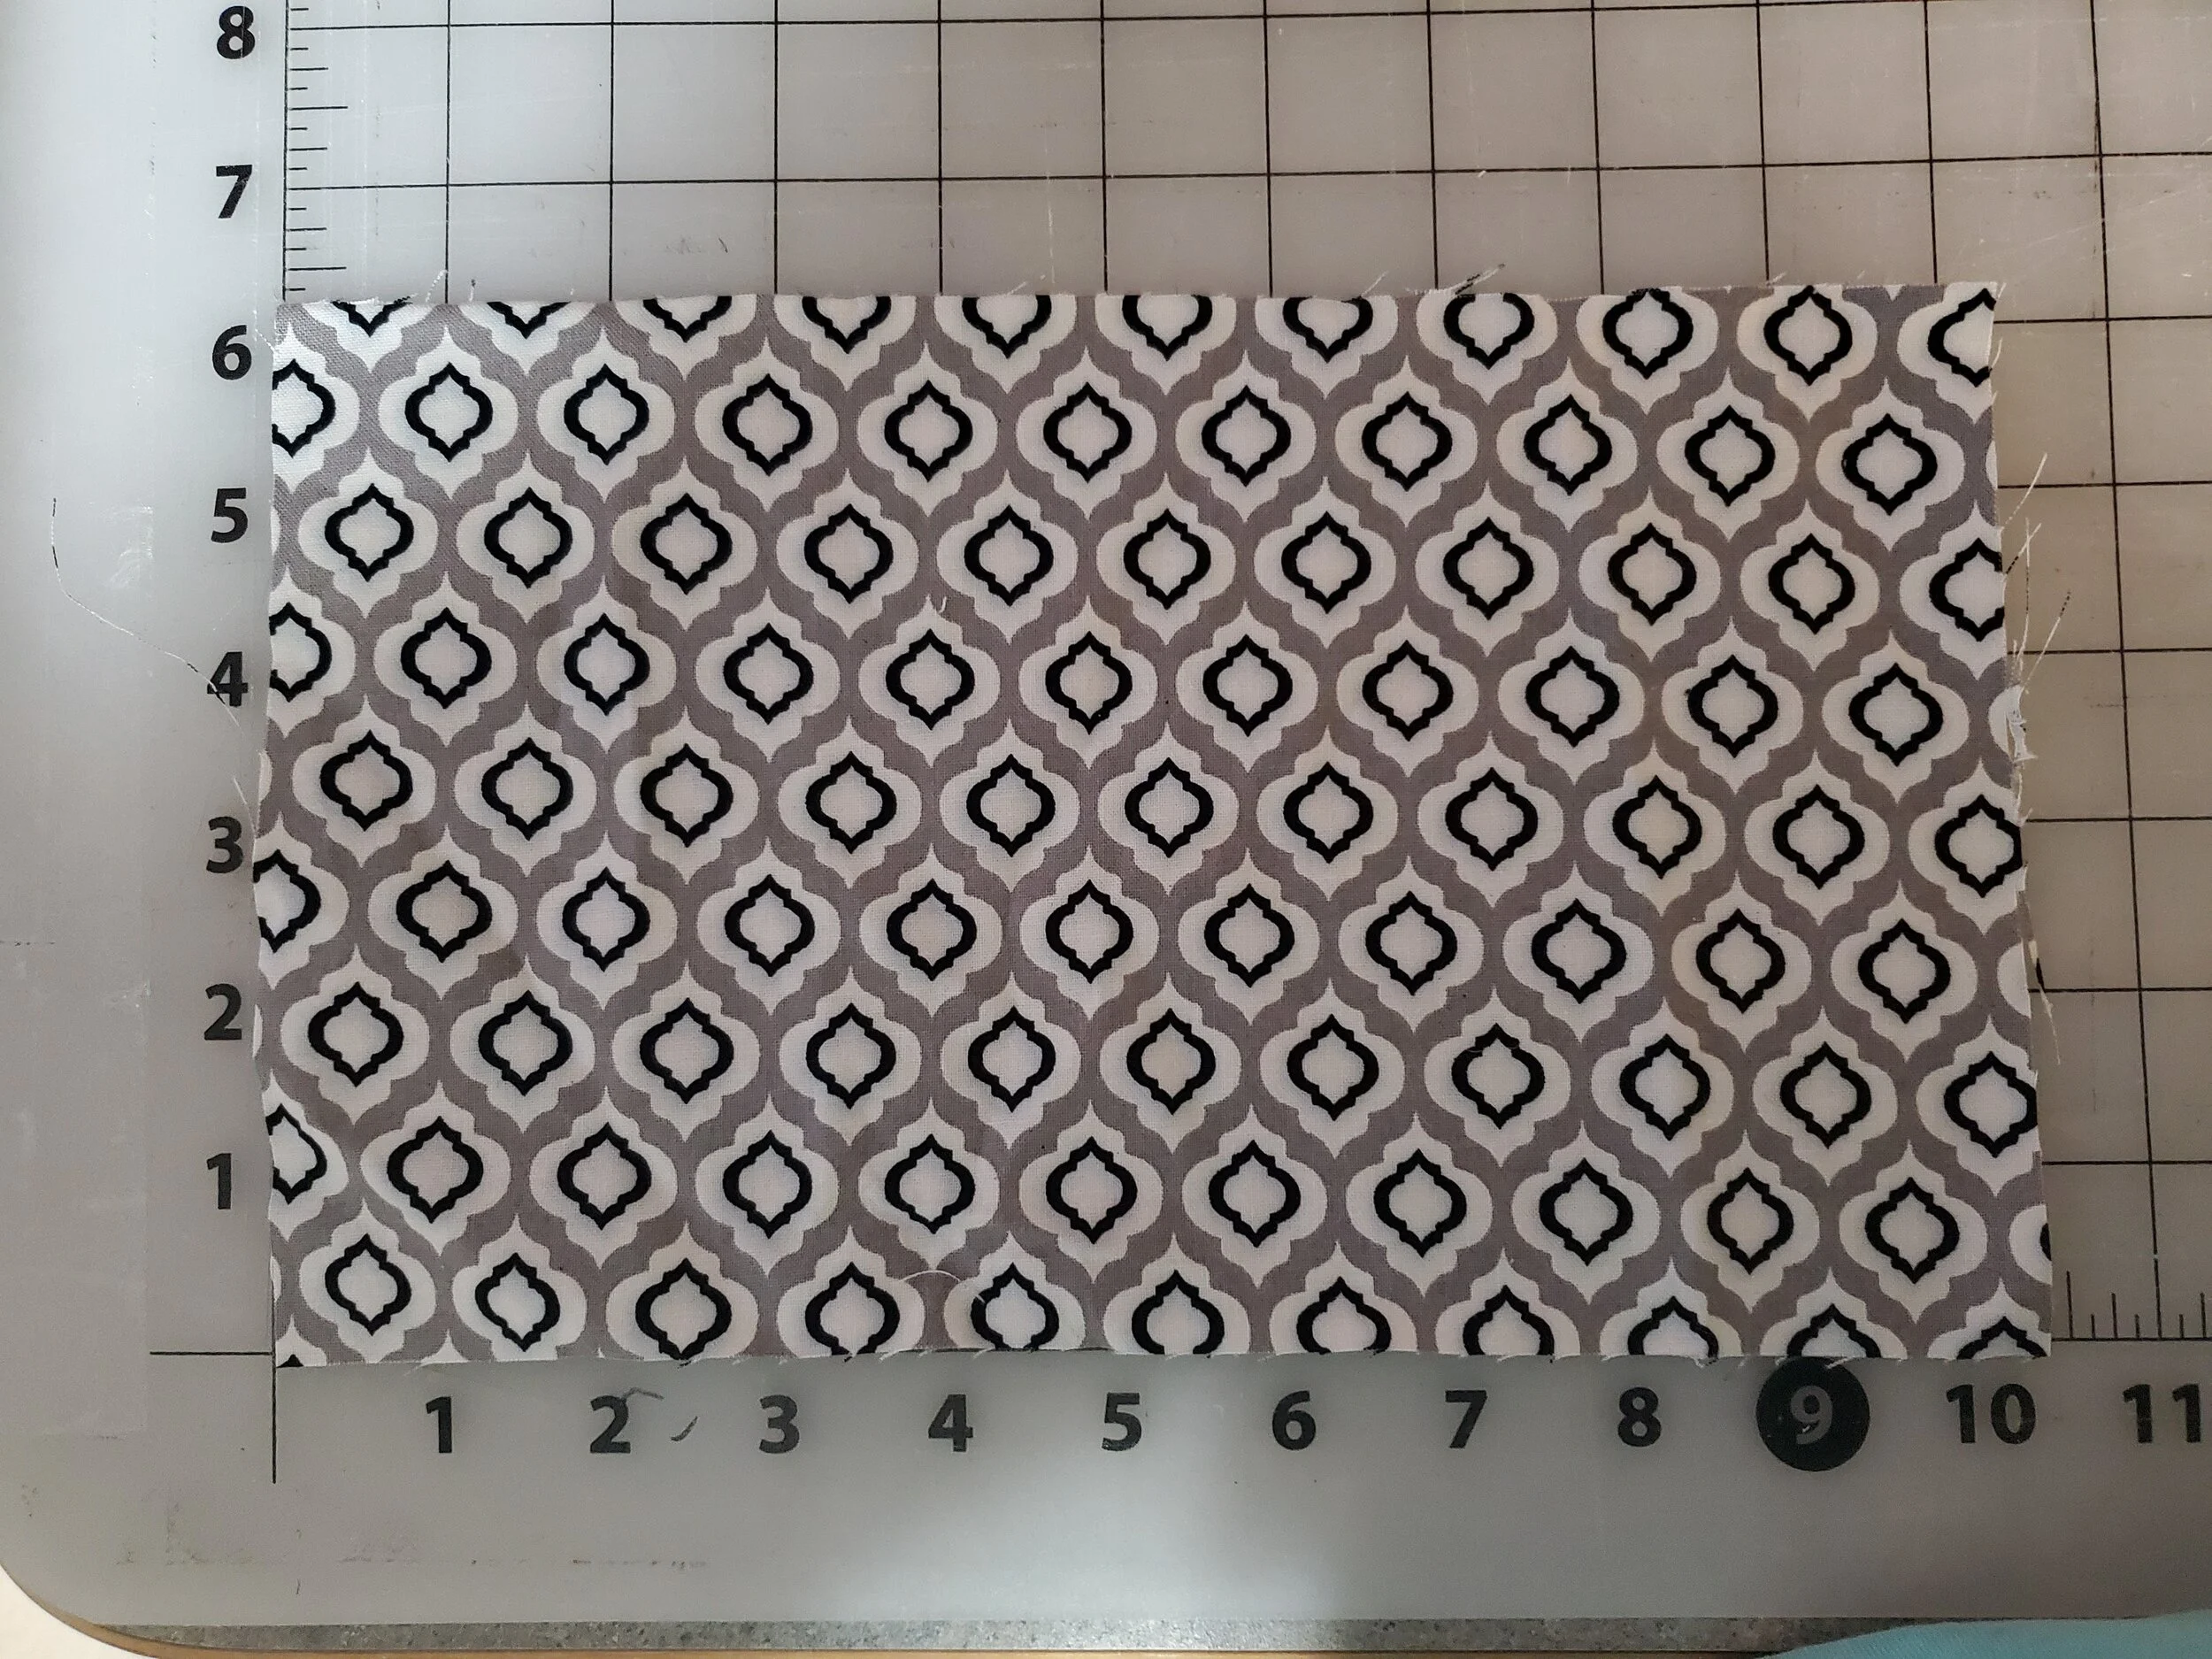
Put the two pieces of fabric right sides together and sew 1/4 inch from edge along both long sides. Turn the fabric right side out and press. (Both end are still unsewn.)

Next, make and pin 3 pleats on both ends. Pin the pleats approximately 1 inch from the edge.

Sew over the pleats one inch from the edge of both ends.

Next sew a finishing seam 1/4 inch from the edge of the top and bottom of the mask, which is the long sides of the fabric. ( This isn’t an absolutely mandatory step, but if you plan on wearing it more then once and washing it, this will help it keep it’s shape.)

Next, cut your tie cord approximately 65 inches in length. The tie can be made out of pretty much anything that you have on hand: yarn, string, or cord. Next, line the cord along both sides along the stitch that you made when securing the pleats.

Fold over the sides and pin in place, making sure the tie cord is out of the way of the sewing path. You can also wait to add the cord until after the stitch is made and then feed the cord through the open tunnel that you create, but I prefer to just sew slow and avoid that step.


I went over both sides twice to make sure that the sides are strong since you will be pulling the string to tighten the mask around your face. Next you can snip any extra raw fabric that may be rough along the edge since it will be on your face. Your mask is ready to go!

Step-by-Step Embroidery Tutorial using Fast Frames on a Brother machine.
This step-by-step tutorial clears some myths and answers the questions that you have about using fast frames when embroidering.
Crockpot Potato & Chicken Soup
Cooking & BakingCommentThis recipe is sure to please and so easy to make. Personally, soup isn’t usually high on my list of palate pleasers, but this hearty and yummy soup makes the perfect comfort food on these cold winter days. The great thing is you probably have most of what you need to make it in your pantry right now!

Here’s what you will need. . .

You will need an electric crock pot and the following ingredients. Cook time: 9 hours on low heat.
Ingredients:
6 large potatoes
1 small onion
3 carrots (14-16 mini carrots)
3 ribs of a stalk of celery
4 chicken bouillon cubes
1 Tbsp parsley flakes
5 cups water
1/3 cup butter
1/2 Tsp salt & pepper
1 can evaporated milk
3 large cooked chicken breasts (This is optional & can be made without chicken for a potato soup.)
I usually make this soup on the weekend when I have more time, but this could easy be thrown together before work if you can spare a little time to peel the potatoes and chop the rest of the veggies. I just usually don’t allow any spare time before work. (-:
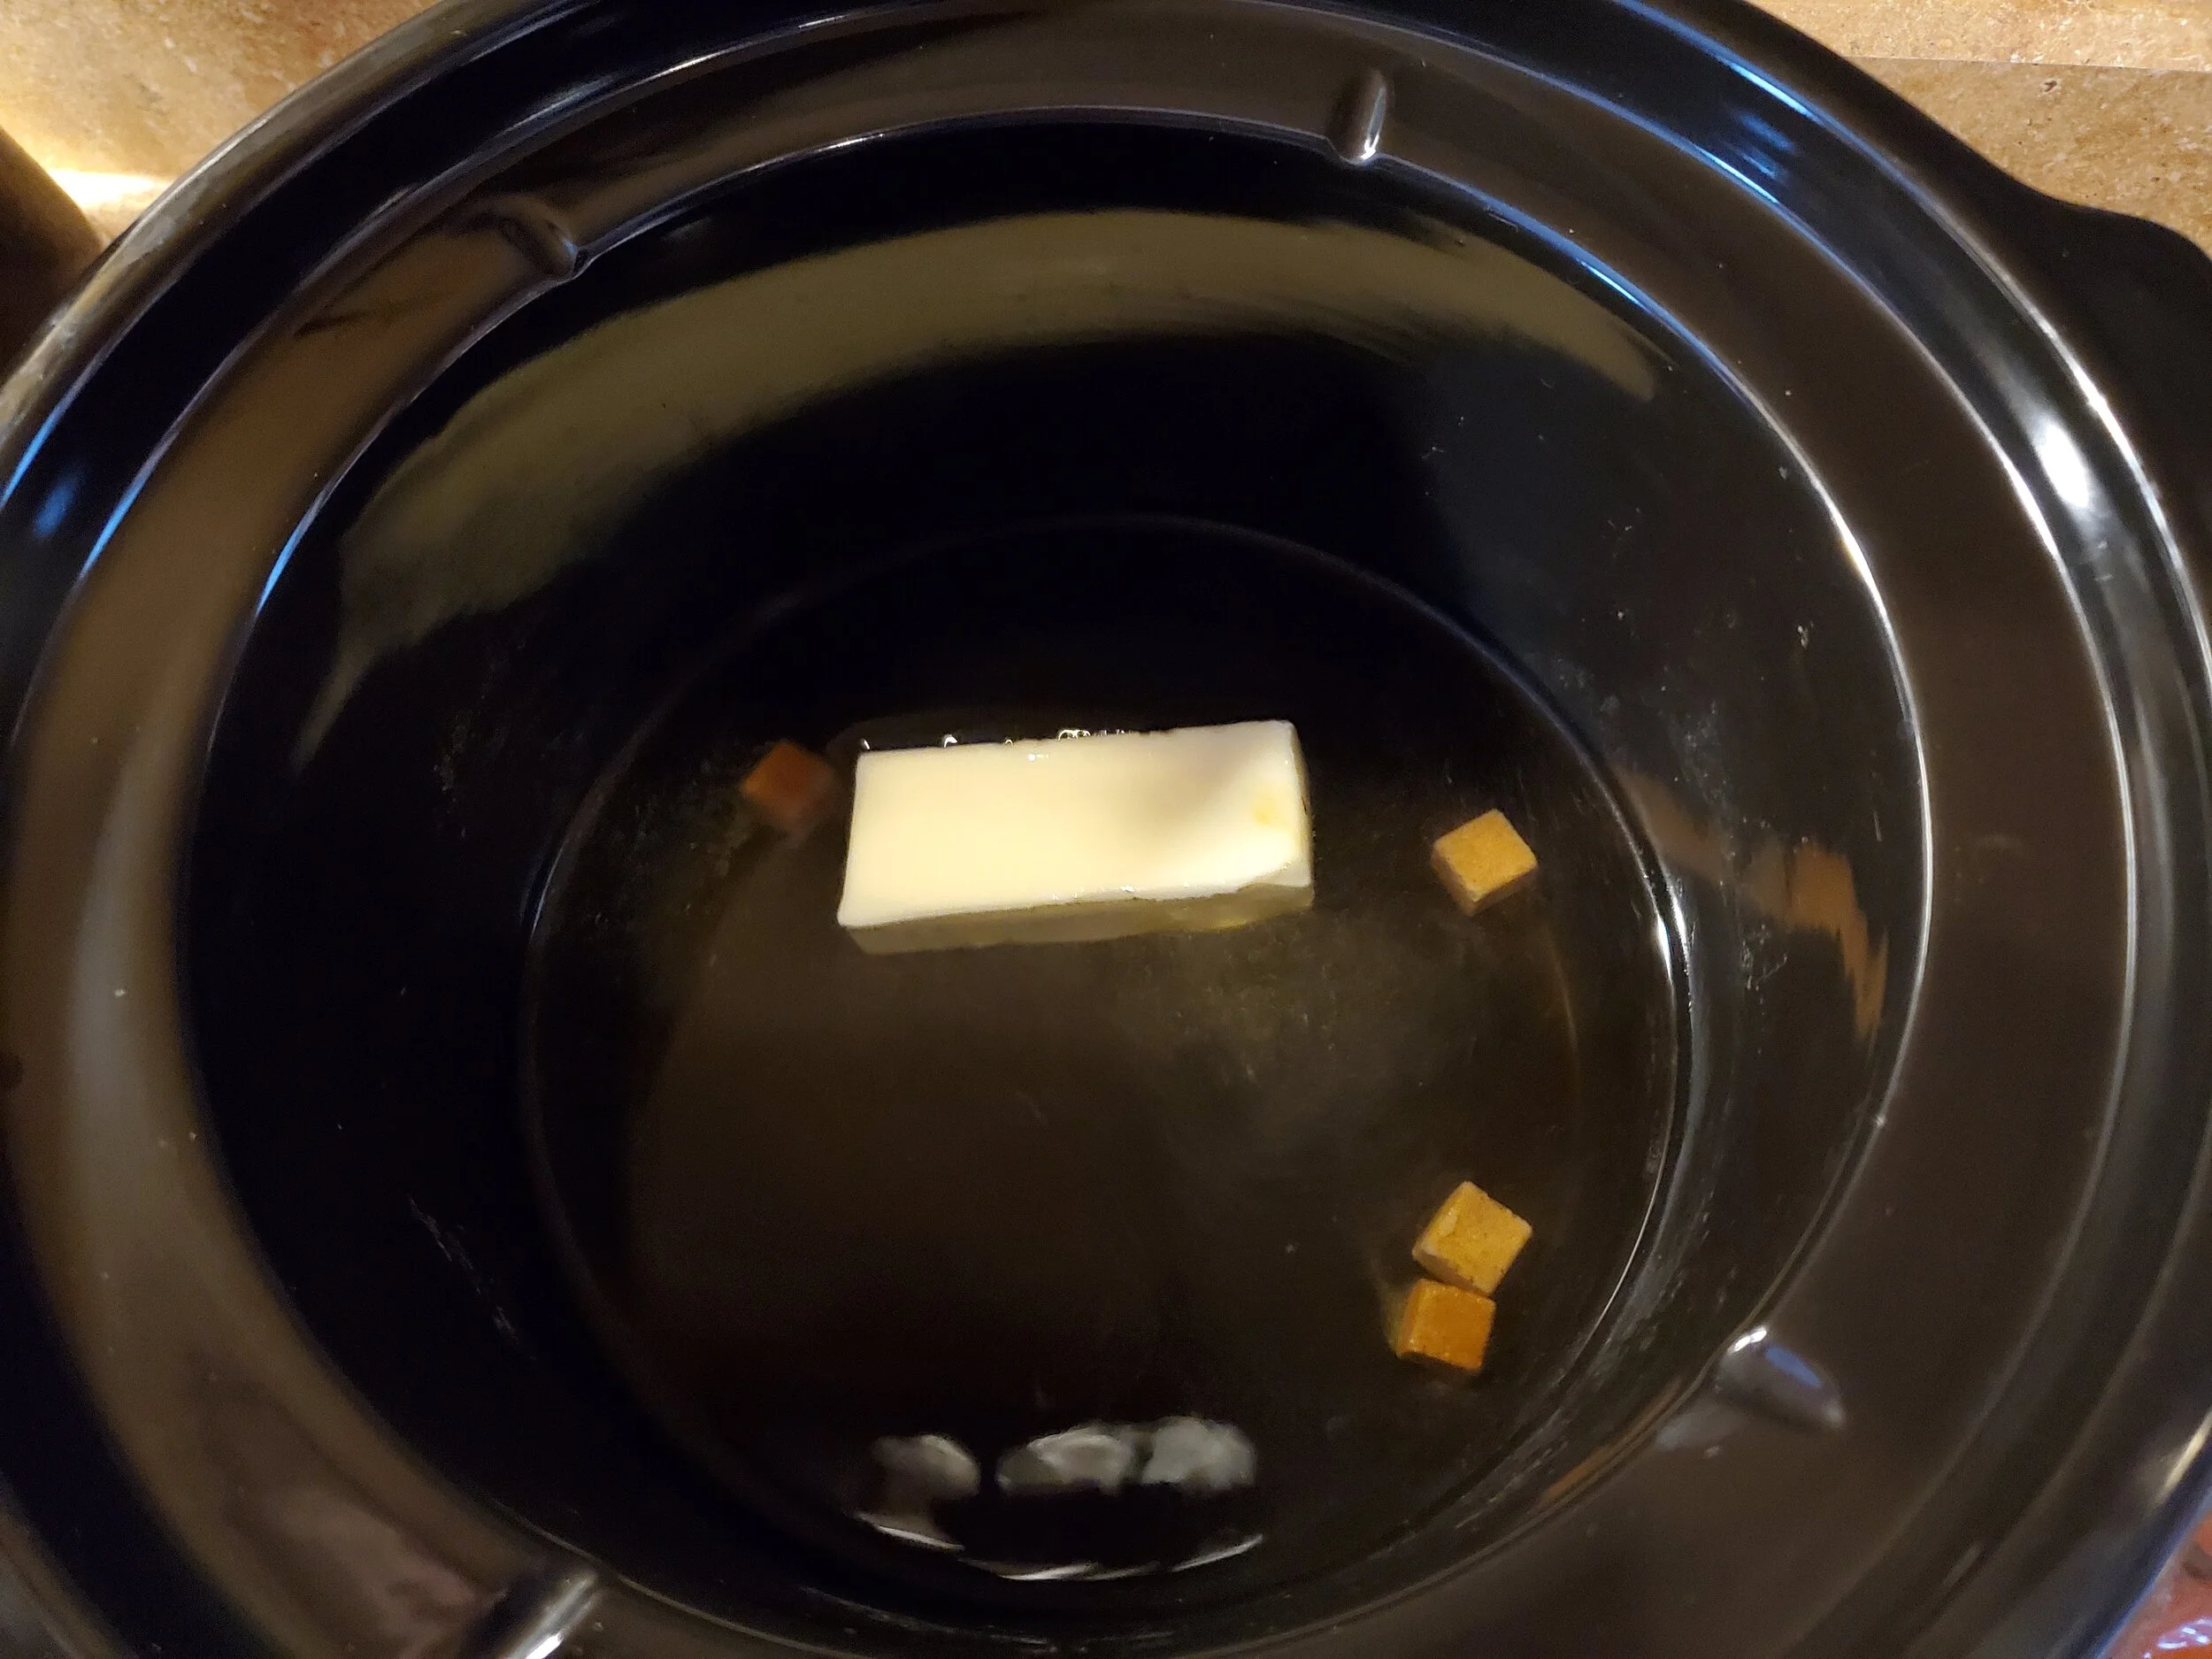
To start, I put the water, butter and bouillon cubes in the crock pot and turn it on high, while I peel and chop the potatoes, carrots, celery, and onions. I usually only have the pre-cut baby carrots on hand, which actually are pretty slick to use as they make nice bit-size pieces.

I tend to chop my celery and onions really small because I have some non-veggie eaters that don’t want to know that they are there, but really like this soup anyway! Once you have all the vegetables sliced, add them, the parsley and salt and pepper to the crock pot and stir.

The butter and bouillon cubes may or may not be dissolved all the way yet, but that doesn’t matter as they will mix in just fine when they do. Now you just turn the crock pot to low and forget about it. Actually, if I am home while it is cooking, I like to stir it occasionally and smell the aroma as it cooks but if you’re not home it will cook fine without you. YOU WAIT to add the evaporated milk and chicken until the last 30-60 minutes of cooking. I usually cook the chicken in the over or in another crock pot as I am making this soup, then chop it up and add it when I add the evaporated milk, but you can use last night’s leftover chicken too!

This soup smells and tastes so good. The potatoes become so soft and flavorful. This soup was originally a potato soup recipe, but my brood really likes meat with every meal so I started adding the cooked chicken to it, which we think made it even better!
Side Note: I usually use frozen boneless chicken breast that I just throw into a crock pot- frozen! Since it is frozen, it usually has enough moisture that you don’t need to add anything. It cooks up perfectly on low in about 4-5 hours.


This soup is hearty enough to eat alone or as a side dish. We usually just eat it with some saltine crackers or bread sticks. It’s delicious either way! Please follow my blog and share if you like this recipe. Enjoy!
How to hoop and embroider Christmas stockings and other tricky items.
Sewing & EmbroideryCommentEmbroidering names on items with limited opening such as Christmas stockings and bags can be tricky. Small openings make it difficult to hoop iand fit over the neck of the machine. If you can find a hoop small enough to fit in the bag that still allows you to fit it on the machine, it is usually too small to fit the name that you want on your stocking! UGH!! This video shows you how I am able to solve that problem, by using a scanning feature that enables me to start a name and when I run out of room, I can simply move my hoop and continue embroidering without losing my placement. I love this machine!!
Happy National Adoption Month
family“Not flesh of my flesh nor bone of my bone but still miraculously my own. Never forget for a single minute that you may not have grown below my heart BUT IN IT.”

ADOPTION is very special to me, because not only was I adopted as a child, but I have also been blessed to adopt a child. Happy National Adoption Month!!

T-shirts available at https://www.themeltedcrayon.net/new-products-3/be-someones-happy-place-
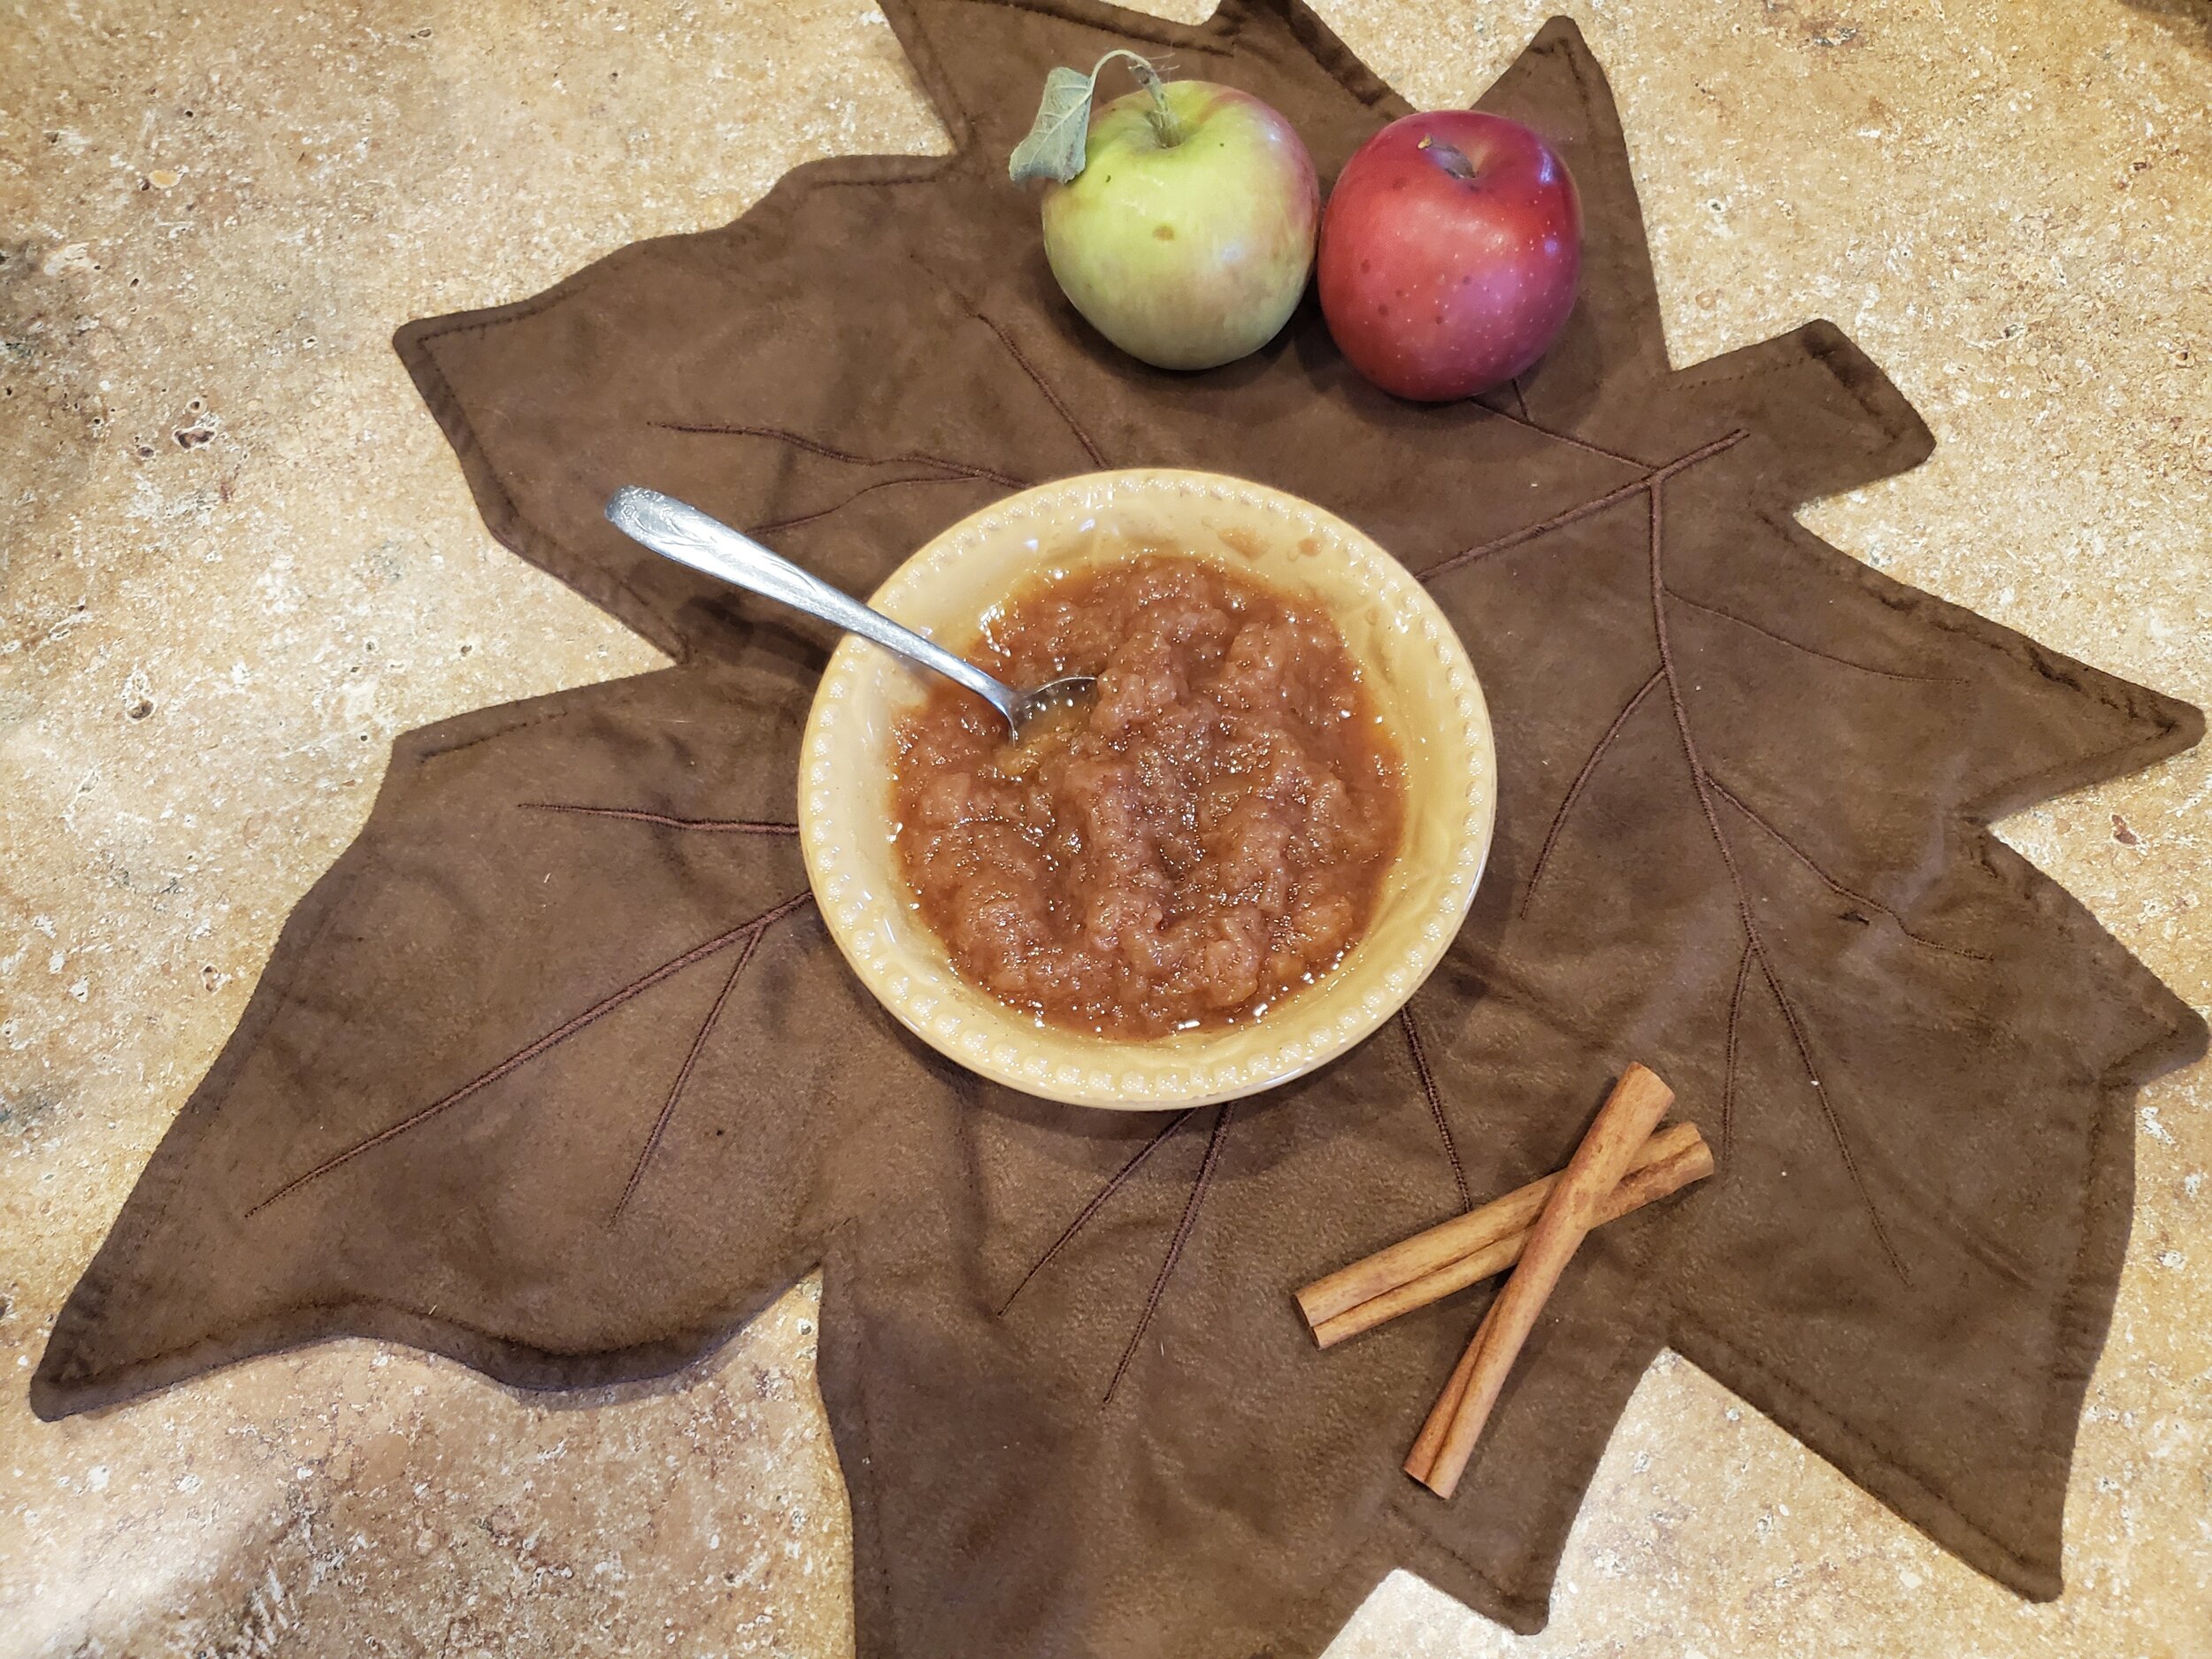
Crockpot Cinnamon Apple Sauce
CommentHomemade Crock pot applesauce is a delicious way to end the autumn season! This applesauce recipe is so simple and so easy!
Summer will always be my favorite season, but there is something special about fall. I love to look across the landscape and see the various colors of leaves on the trees, hear the chatter of excitement of a new classroom of students, feel the softness of an old, worn, flannel shirt, the smell of dry leaves while raking, and the taste of almost anything grown fresh from a garden. My neighbors have a large apple tree in their backyard that get so heavy with apples that the branches nearly touch the ground. Again this year my neighbor kindly offered to share her apples, which I excitedly hopped the fence to get. (Literally -I hopped - well, more like fell over the fence. It wasn’t pretty and I am glad there wasn’t photo proof of this!!)

If you don’t have a generous neighbor like I do, there are many great apple varieties that you can find at your local farmer’s market or grocery store. I prefer a crispy, sweet and tart apple. This recipe is so easy that the hardest part is the peeling of the apples, which is why I like to use an apple peeler.
Ingredients:
Crock pot (any size 3 quart or larger)
12-15 apples -peeled, cored, & sliced (depending on size of apples and crock pot)
1 tsp. cinnamon
1/2 cup white sugar
1 tbsp. lemon juice
1/2 cup water

Instructions:
Peel and core apples. Cut into fourths and place in crock pot. Stir in lemon juice and then add in sugar and cinnamon, stirring to combine and coat. add in the water
This recipe doesn’t have to be exact so if you have more apples and room in you crock pot, you can add them. The tartness and sweetness depends on the apple type and the sugar added. You can always add more sugar & cinnamon or have less depending on what you like. My recipe was using a 3-4 quart crock pot.)
Cover the crock pot with lid and cook on HIGH for 3-4 hours and on low for 5-6 hours or until apples are very soft. I will stir occasionally.
You can eat it immediately warm over ice cream or alone or store in a sealed container in the refrigerator or even can it to give away as a gift. ( I will have a step by step simple canning blog next.)

Your whole house will smell wonderful! Enjoy! Follow me to catch the next blog on a simple way to can using the water bath canning method.

Learn the names of your neighbors' dogs. . .
familyCommentA little advice to take or leave from adventures of Molly’s walks. (:
Best Smelling Homemade Play Dough
education, Cooking & Baking, CraftsCommentThis is the best smelling play dough! It is wonderfully soft, pliable and nontoxic. This is a great recipe to have on hand for a rainy day activity!
Easy DIY Sewing Tutorial on how to make a Dog Bandanna.
Crafts, Sewing & Embroidery, DIYCommentThis is an easy step by step DIY tutorial on making a bandanna for your dog. It is a fun an easy beginner project that can be done from start to finish in about 15 minutes.
Protein Ball Sweet Treat
Cooking & BakingThese protein balls are the perfect sweet treat! They satisfy my need for chocolaty, peanut butter, crunch! YUM!!
DIY Doggie Bandanas
Sewing & Embroidery, CraftsMeet Riggz! He is modeling one of our doggie bandanas. You can buy one or get the pattern to make your own by subscribing to our blog or clicking the link.
Easy Beer Cheese Soup
family, life, cookingCommentThis is one of my favorite soup recipes. It is so quick and easy to make and tastes so rich and creamy. My family loves to eat it with a soft pretzel.